2. Instructions for Installing the Custom Agent
After accessing the portal, you will have a personalized agent available for your company. To use it, just follow the instructions below:
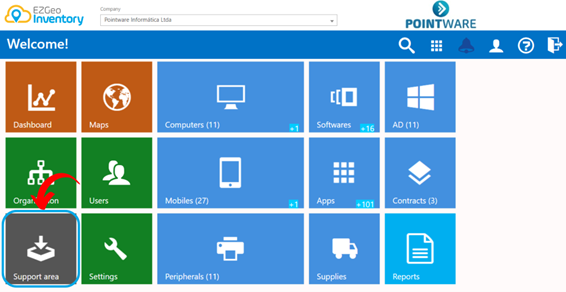
1. Click on “Support Area”.
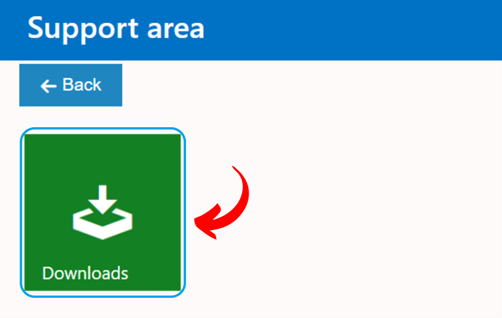
2. Click on “Downloads”.
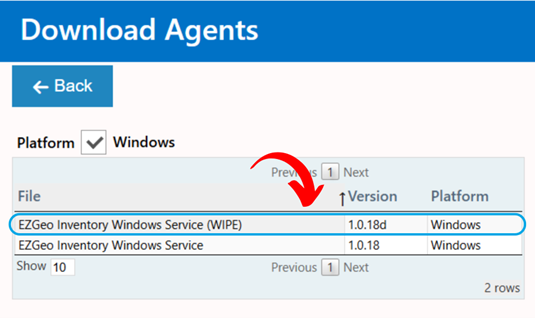
3. Click on "EZGeo Inventory Windows Service(WIPE)".
Note: There are two versions of EZGeo Inventory: one with the Wipe option (contains remote deletion) and one without. Both are complete, but the version without remote deletion is sufficient if your company does not need this function.
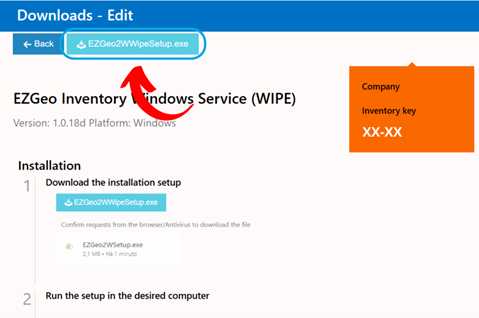
4. Click on "EZGeo2WWipeSetup.exe" and confirm any requests from the browser and/or antivirus to download the file.
6. After the download, run the setup on the computer. Confirm the requests from the browser and/or antivirus to run the application.
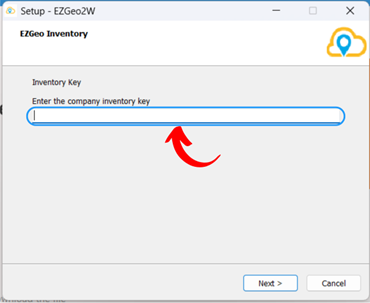
7. Enter the company's specific inventory key on the designated machines. In multi-company environments, each entity has its own unique key. Ensure the correct key corresponding to the company in question is used to ensure proper identification and integration of the agent with the business system.
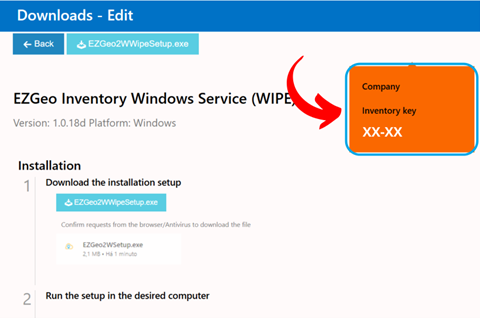
Note: The key must be copied exactly as it is displayed, including the dash "-", and is available in the agent download section, as shown in the image below.
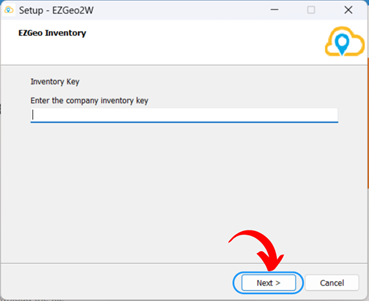
8. After entering the inventory key, click on "Next".
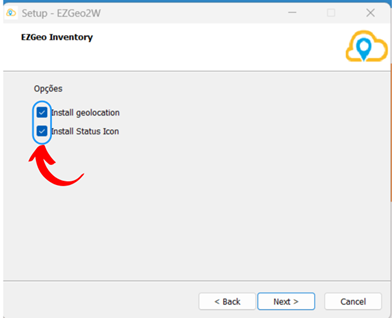
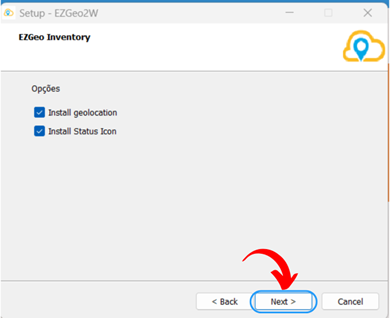
9. A screen will appear presenting the following options:
Install Geolocation: Select this option if you want to activate the geolocation feature on the equipment. Geolocation will not be activated if this option is not checked.
Install Status Icon: Check this option if you want to install the status icon next to the Windows clock. Otherwise, uncheck it to omit the icon. This icon will not be visible if the option is not checked.
Note: Make sure to carefully review the options and select those that match the equipment configuration needs before proceeding with the installation.
10. Click on "Next" to proceed with the agent installation.
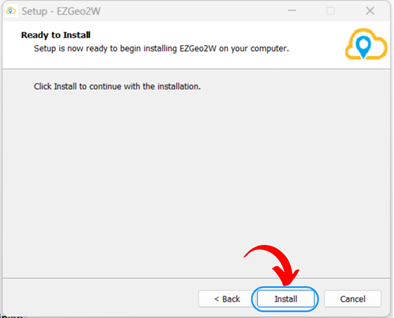
11. Click on "Install".
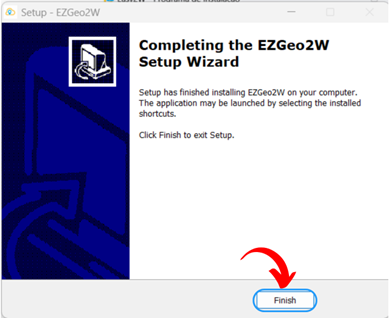
12. After completing the installation, click on "Finish".
13. Wait for the service to start running.
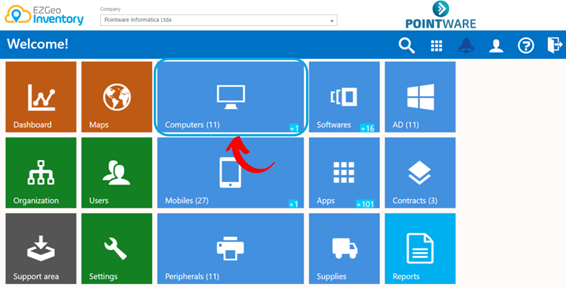
14. Navigate through the EZGeo interface and click on "Computers".
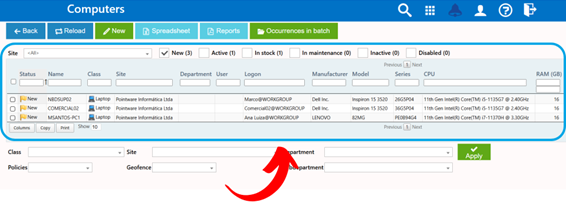
15. When accessing the "Computers" menu, you will have access to the complete list of all computers where the agent was installed.